When you first look up at the stars and decide you want to see more, the sheer amount of gear available can feel overwhelming. Telescopes, binoculars, mounts, eyepieces: it’s easy to get lost in the options of astronomy equipment for beginners. The truth is, you don’t need expensive technology to start exploring the universe. The right setup depends on your goals, environment, and how deep you want to go into stargazing.
In this guide, we’ll break down the essential astronomy equipment for beginners, from simple optical tools to key accessories that enhance your experience. Whether you’re planning to observe the Moon, track planets, or photograph galaxies, this guide will help you make informed choices without wasting money on gear you don’t yet need.
Table of Contents
1. Start Simple: The Power of the Naked Eye and Binoculars

Every great astronomer starts with the most basic instrument of all: the human eye. Before diving into telescopes, spend some time under the stars with no equipment at all. Learning the constellations, spotting bright planets like Venus or Jupiter, and understanding how the night sky changes through the seasons will make you a far better observer later on. A simple star chart or astronomy app can help you identify what you’re seeing.
When you’re ready to take the next step, a good pair of binoculars is the ideal beginner’s tool. Look for something like 7×50 or 10×50 magnification for a bright, wide field of view. Binoculars are light, portable, and great for observing the Moon’s craters, star clusters, and even the Andromeda Galaxy. They’re also easy to use without complex setup, a perfect entry point into the world of astronomy equipment for beginners.
2. Choosing Your First Telescope

A telescope opens the universe in a whole new way, but choosing the right astronomy equipment for beginners can be tricky. There are three main types to consider: refractors (which use glass lenses), reflectors (which use mirrors), and compound or catadioptric telescopes (which combine both). Each has pros and cons: refractors are great for sharp lunar and planetary views, reflectors excel at deep-sky objects, and compounds offer versatility but cost more.
Beginners often benefit from a small, portable reflector or refractor between 70mm and 130mm in aperture. Avoid cheap department-store telescopes that boast high magnification but lack optical quality. Instead, invest in something sturdy and easy to align. Remember, in astronomy, stability and clarity matter more than sheer power. The best astronomy equipment for beginners is one that’s simple to set up and encourages regular use.
3. Essential Accessories for Better Viewing

The right accessories can make a huge difference to your observing experience. A sturdy tripod or mount keeps your view stable: wobbly equipment makes even the best optics frustrating to use. For telescopes, consider an equatorial or alt-azimuth mount; both offer smooth, controlled movement. A red LED flashlight is another must-have, helping you read star charts at night without ruining your night vision.
Eyepieces also play a major role in astronomy equipment for beginners. Most telescopes come with one or two, but having a few different focal lengths allows you to adjust magnification for different objects. A 25mm eyepiece is perfect for wide-field views, while a 10mm gives close-ups of the Moon or planets. Filters can further enhance your view: lunar filters reduce brightness, and colour filters help reveal planetary details.
Investing in these simple accessories will elevate your early experiences with astronomy equipment for beginners.
4. Using Technology to Your Advantage

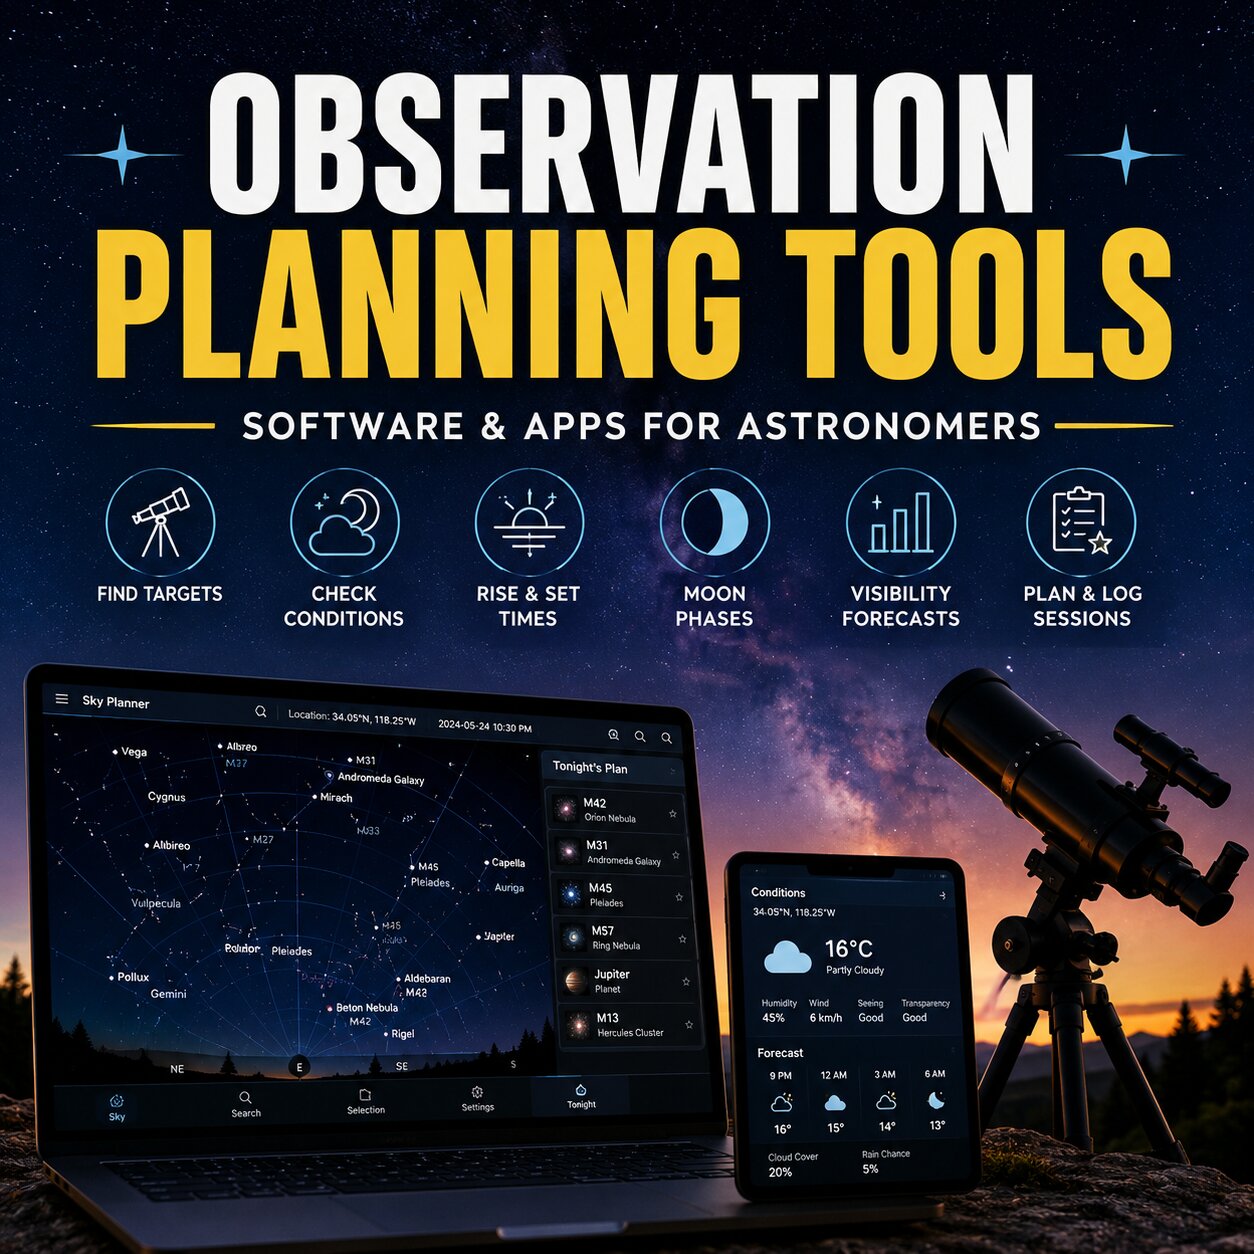
Modern astronomy has gone digital, and beginners can benefit greatly from technology. Smartphone apps like Stellarium, Sky Guide, or Star Walk help you navigate the sky in real time: just point your phone and identify stars, constellations, and celestial events. Many telescopes now come with GoTo mounts, which automatically align and track objects once you enter your location and time.
If you’re interested in astrophotography, you don’t need a fancy camera to start. Smartphones can capture surprisingly detailed shots of the Moon when mounted securely on a tripod. As you gain experience, you can experiment with DSLR cameras and tracking mounts for long-exposure photography of galaxies and nebulae. Technology should enhance, not complicate, your journey into astronomy equipment for beginners. Focus on learning the sky before upgrading to advanced tools.
5. Maintenance, Storage, and Observation Tips

Caring for your gear is just as important as buying it. Keep optics clean and free from dust, but avoid touching lenses directly: use a soft brush or microfiber cloth. Store your equipment in a dry place to prevent moisture damage or mould on lenses. If you live in a humid area, silica gel packs or airtight containers can help protect your investment.
When observing, choose locations away from city lights for the clearest skies. Let your telescope adjust to outdoor temperatures before use to avoid distortion. Always plan your sessions: check moon phases, weather, and planetary visibility. A well-prepared night of observation is far more rewarding than an unplanned one. Treat your equipment as a long-term companion on your journey into astronomy equipment for beginners.
Exploring the Universe Starts Small
Astronomy is one of those hobbies where patience and curiosity matter more than expensive gear. You don’t need to buy everything at once: start small, learn the basics, and upgrade gradually as your interests grow. The best astronomy equipment for beginners is the gear you’ll actually use: binoculars, a reliable telescope, a few good accessories, and a passion for discovery.
Every clear night offers something new: the shifting planets, a passing satellite, a meteor streaking across the sky. The universe is vast and waiting, and with the right tools and a sense of wonder, you’re already halfway there.